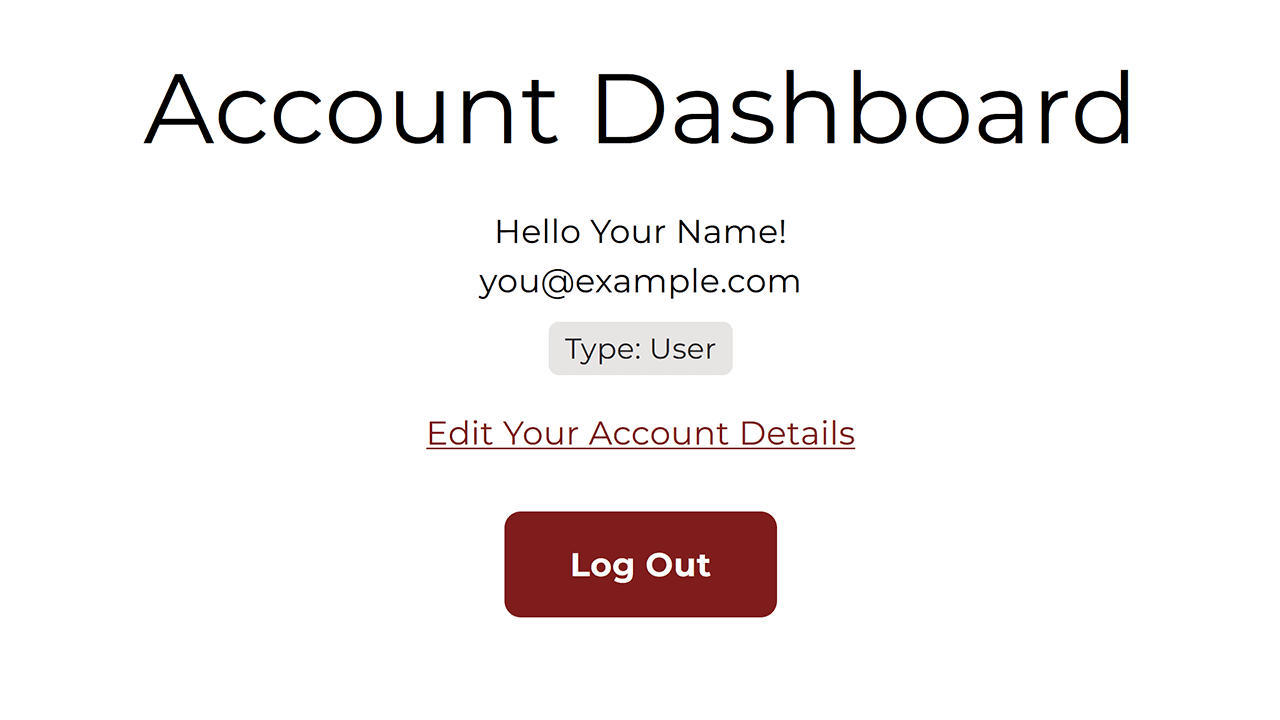
Tutorial: Create an Account
This guide provides step-by-step instructions on how to create an account on Piano Music Database. By following these steps, you can easily create an account and start accessing and utilizing the features of Piano Music Database.
Tutorial
Step 1 - Get to the "Create an Account" page
Option 1: Click "Menu" or and then "Create Account" in the header at the top of any page
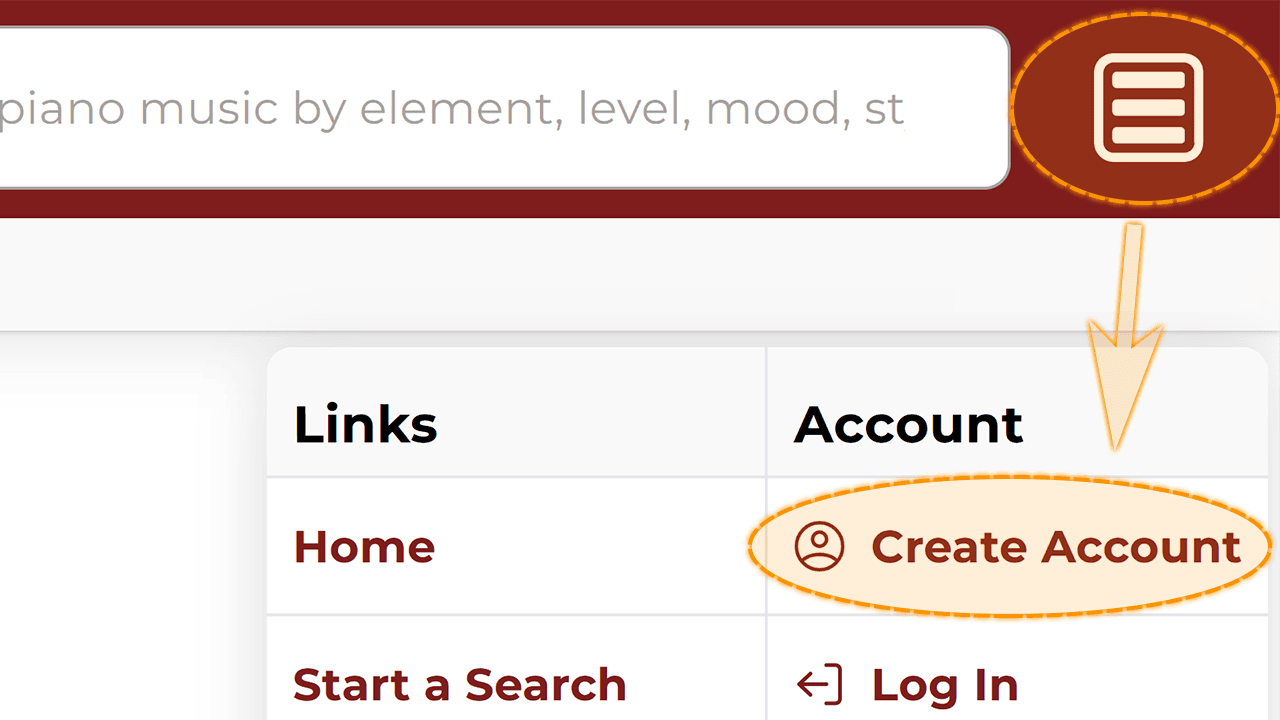
or
Option 2: Click "Create Account" at bottom of any page in the footer
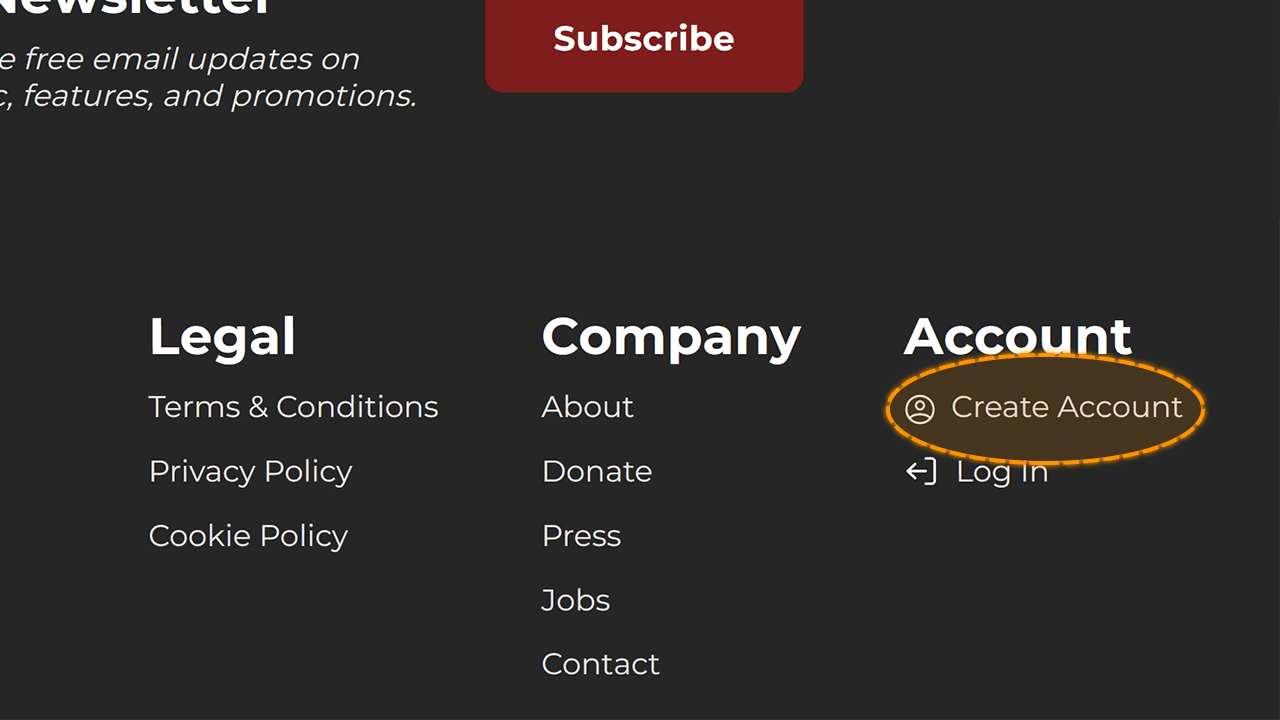
Trick: You can also visit PianoMusicDatabase.com/create-account
Tip: You must be logged out of any other accounts before you can create a new account! If you are already logged in, the buttons to log out replace the log in buttons which can be seen in the pictured locations above.
Step 2 - Enter your email
Click on the email field to begin typing your email address.
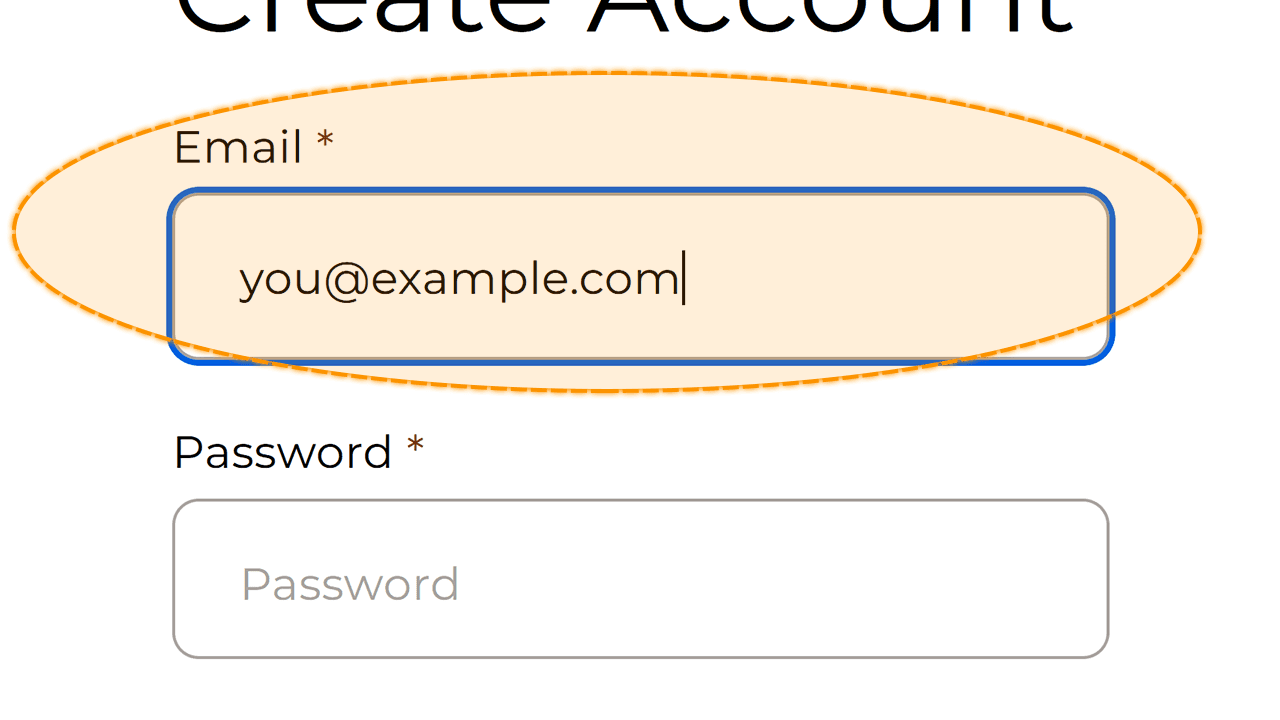
Step 3 - Enter a password
Click on the password field to begin typing a secure, unique password.
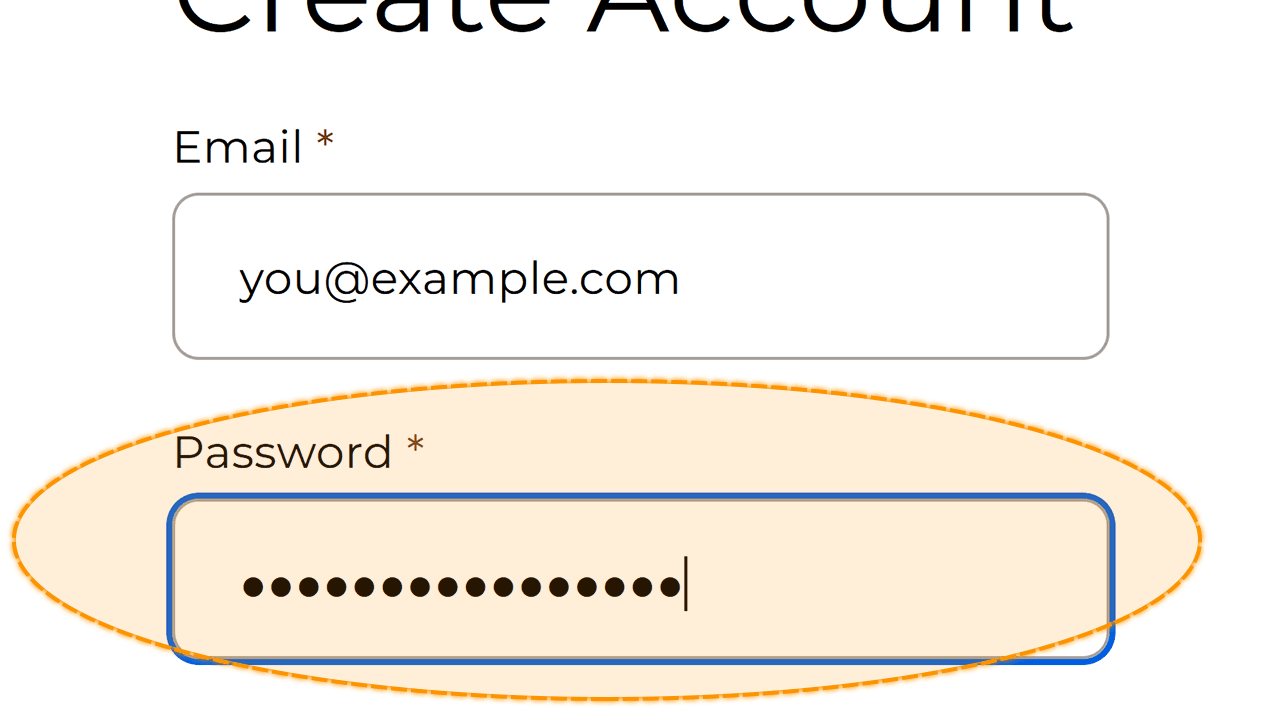
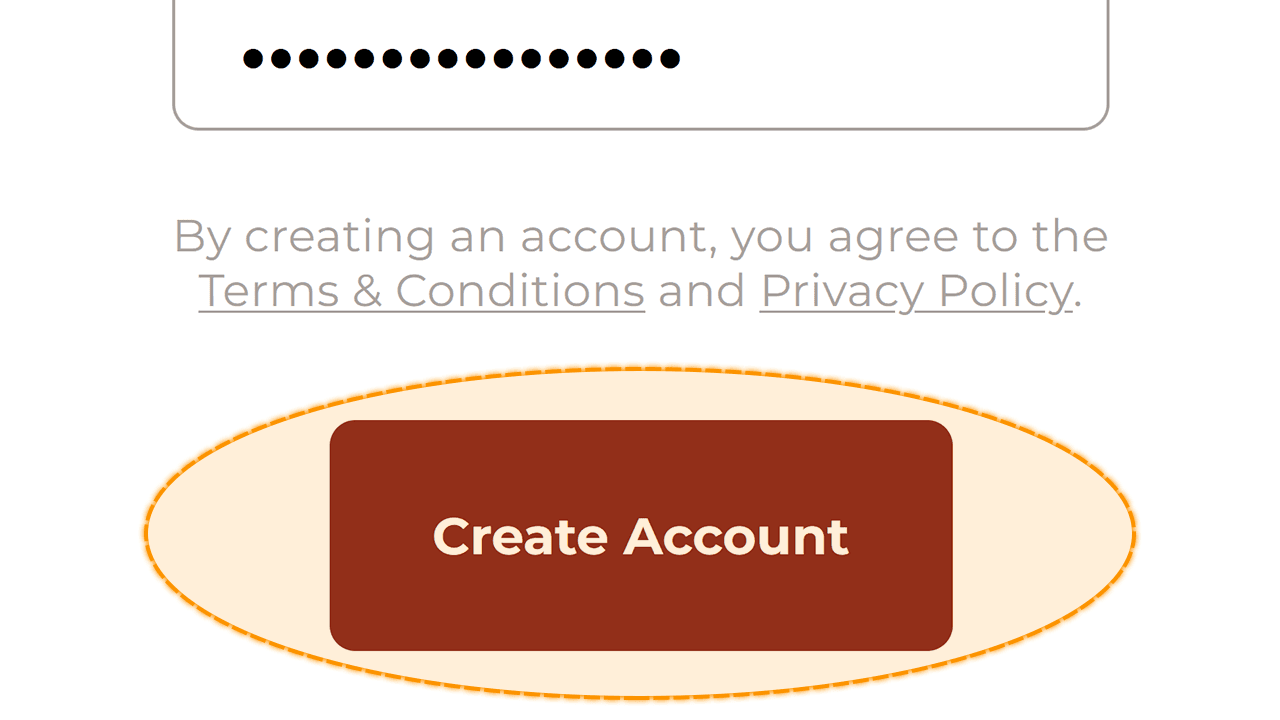
Step 4 - Create your Account
Click the Create Account button to create your account using the email and password you provided.
Step 5 - Check your email for a link
Check your email for a message titled "Account Email Confirmation".
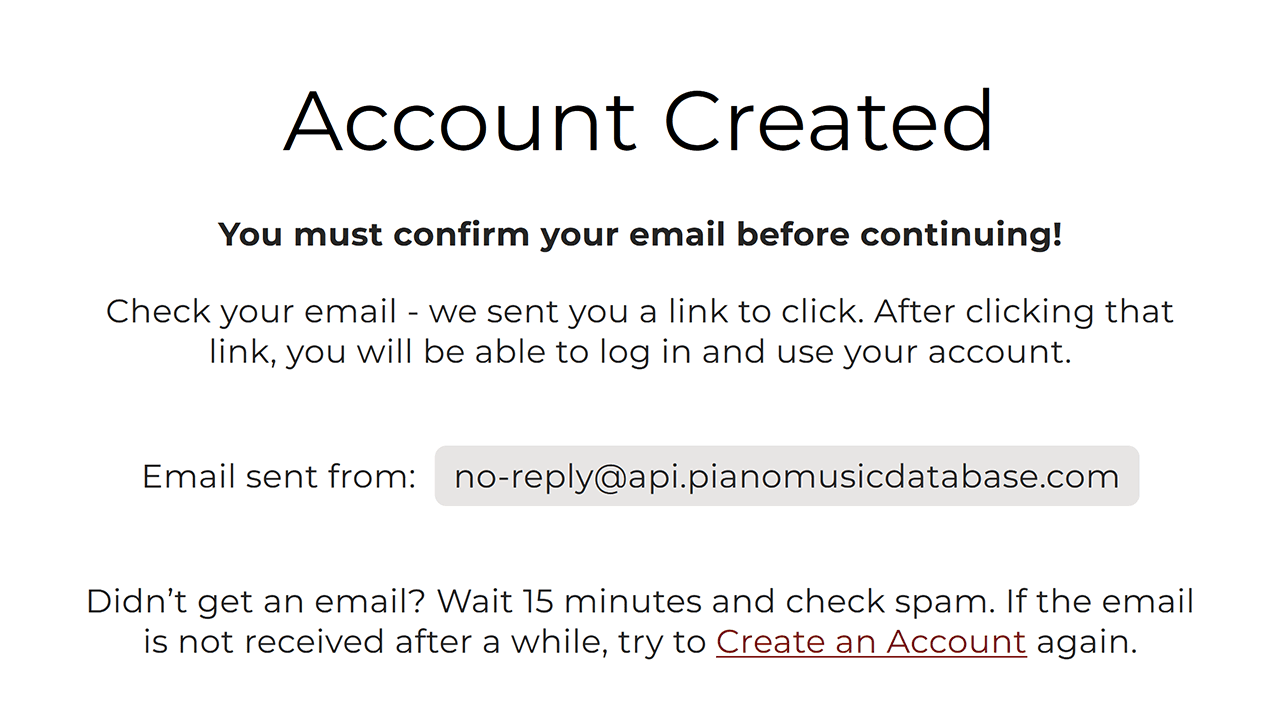
Tip: If you don't receive an email within 15 minutes, check your spam folder, try creating an account again, or get help by sending an email to Contact@PianoMusicDatabase.com.
Step 6 - Click the email's link
Click the link that was sent to your email. You can also copy/paste the link into any browser. Upon opening the link, our server automatically confirms that you own your email.
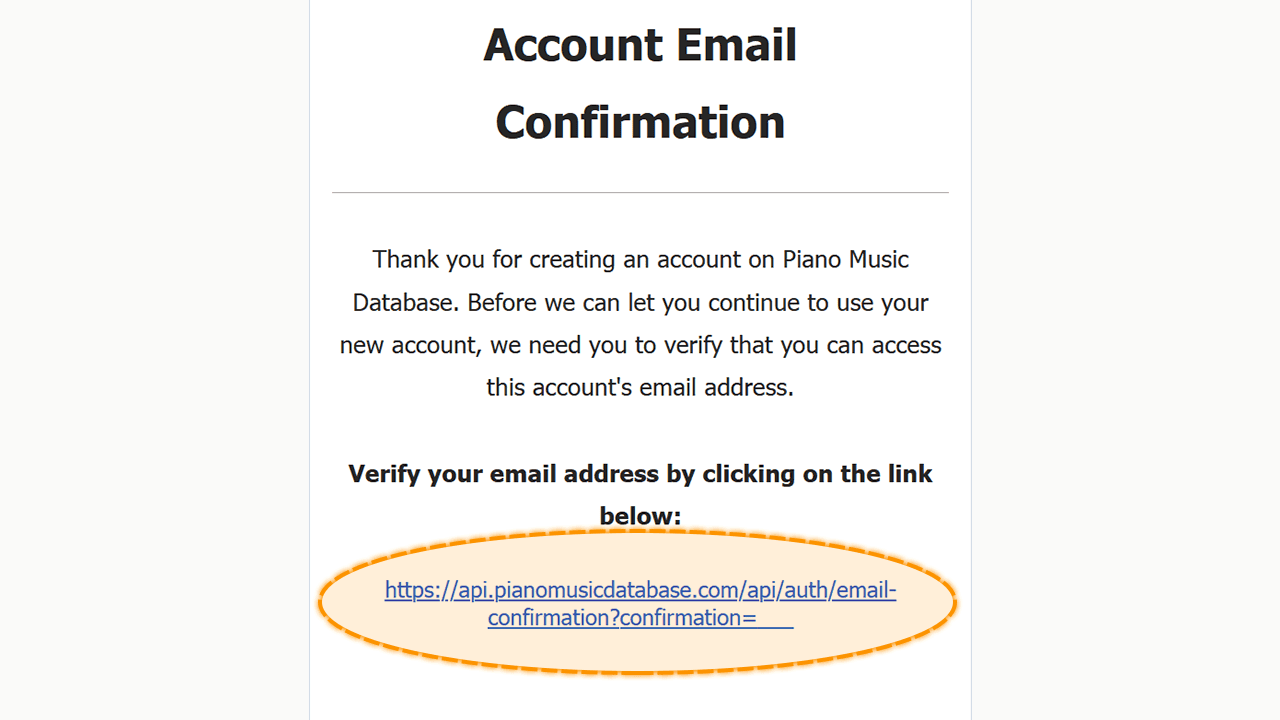
Tip: You only need to open the link once! If you get an error when opening link, you may have already opened it and you can move on to the next step.
Step 7 - Log in to continue
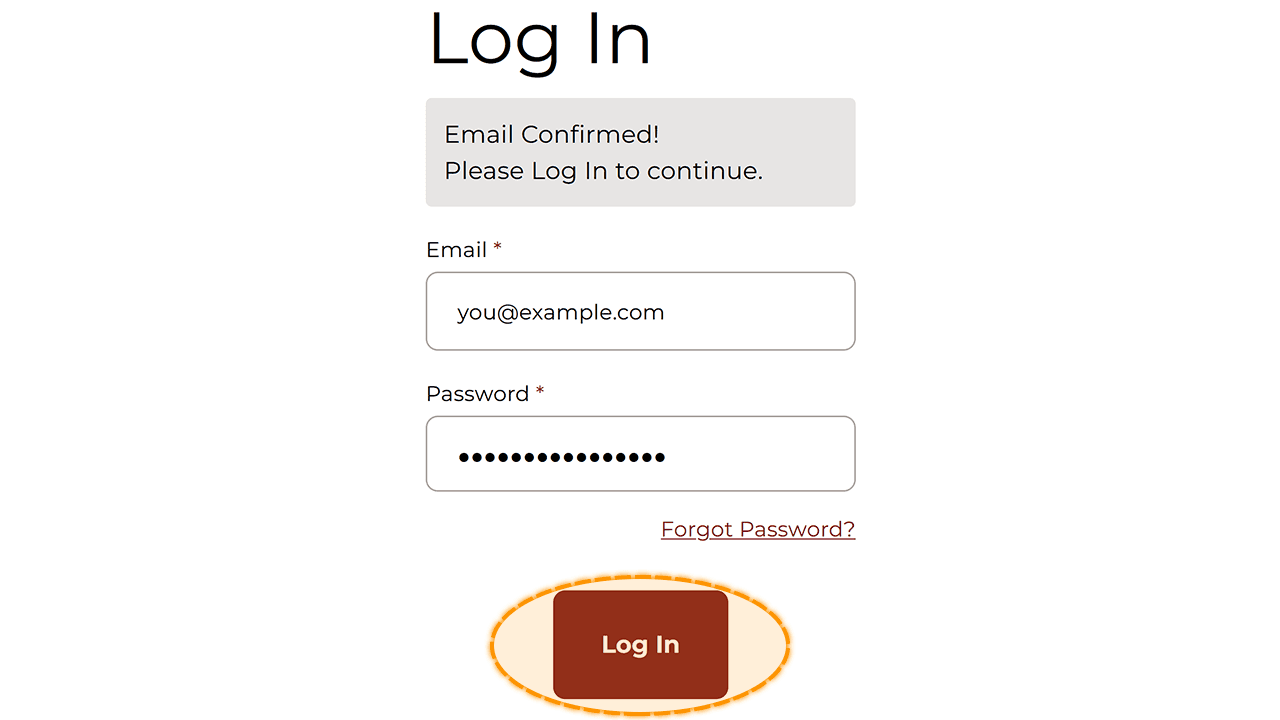
Enter your email and password that you used when creating your account. Click the Log In button to log in to your new account for the first time.
Step 8 - Accept terms
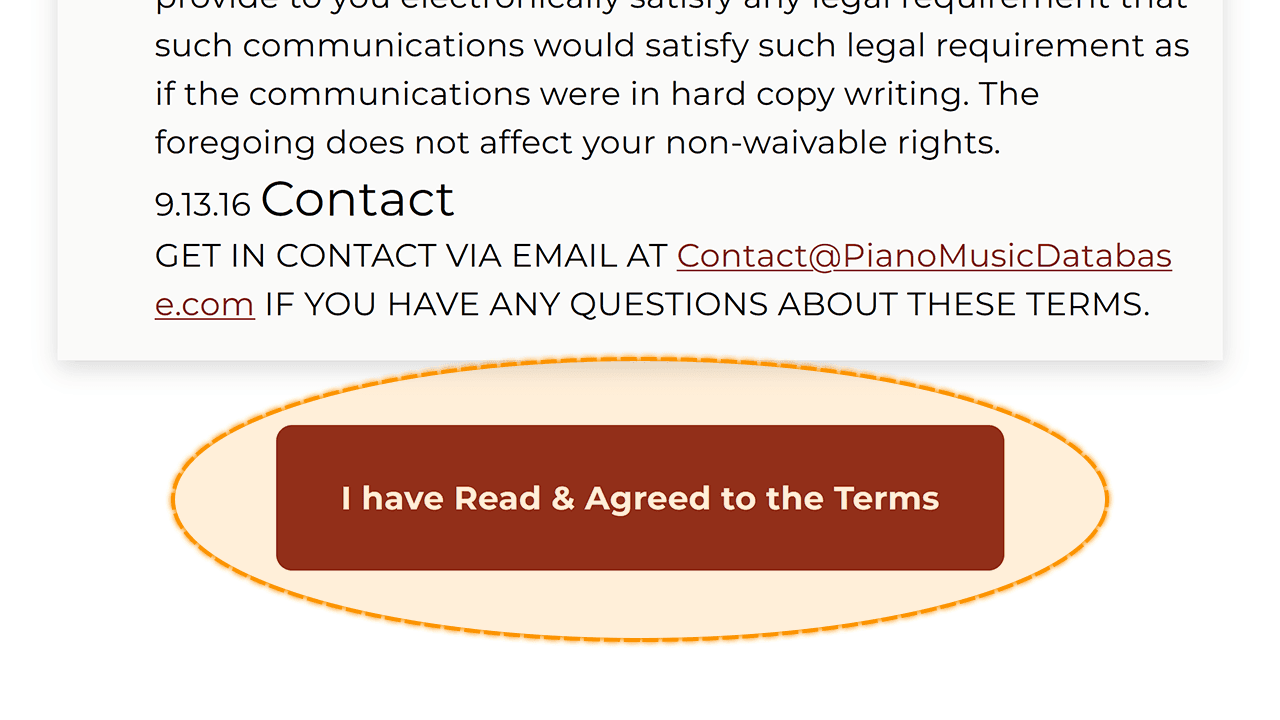
Read through our terms and conditions and then click on I have Read & Agreed to the Terms.
Step 9 - Enter your details
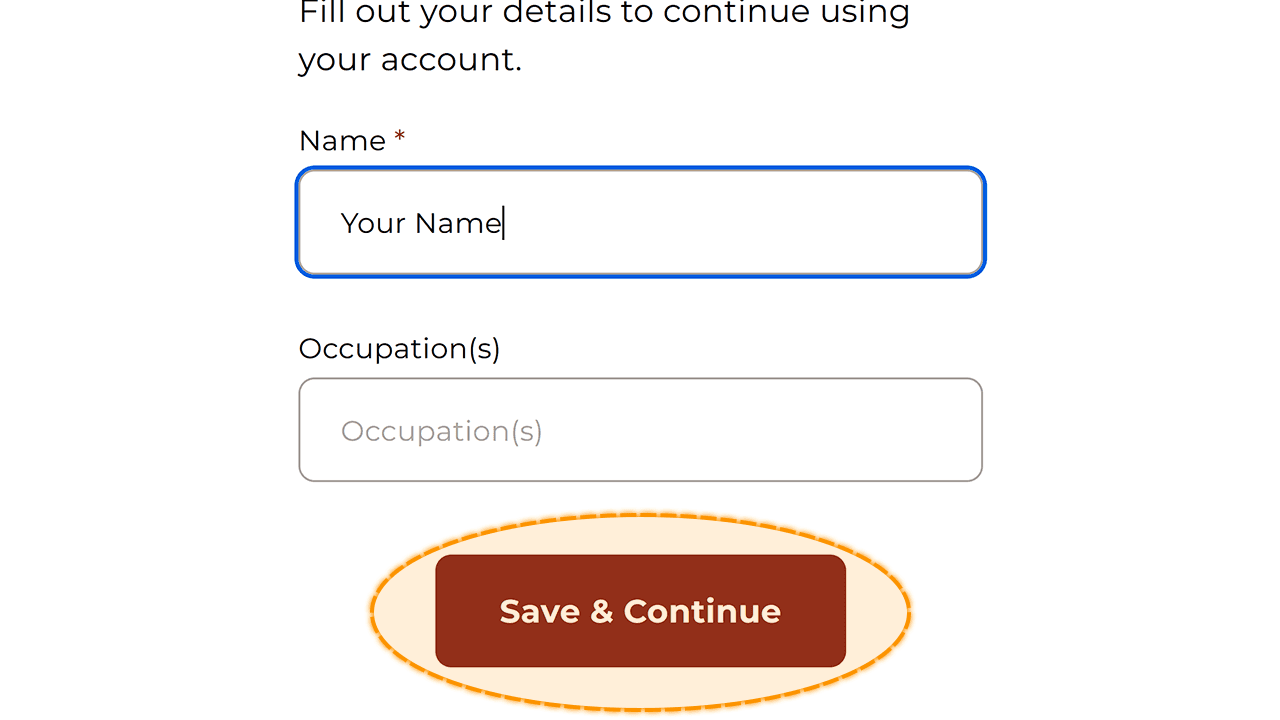
Enter your name and occupation. Click the Save & Continue button to continue.
Step 10 - Start using your account
Your account is now ready to use.
